
Process overview
3. Cartridge Assembly
| ID | 3.1. | |
| Title | Assembling Electrode board with Spacer Frame | |
| Scope | Prepare electrode board and assemble the spacer frame to it | |
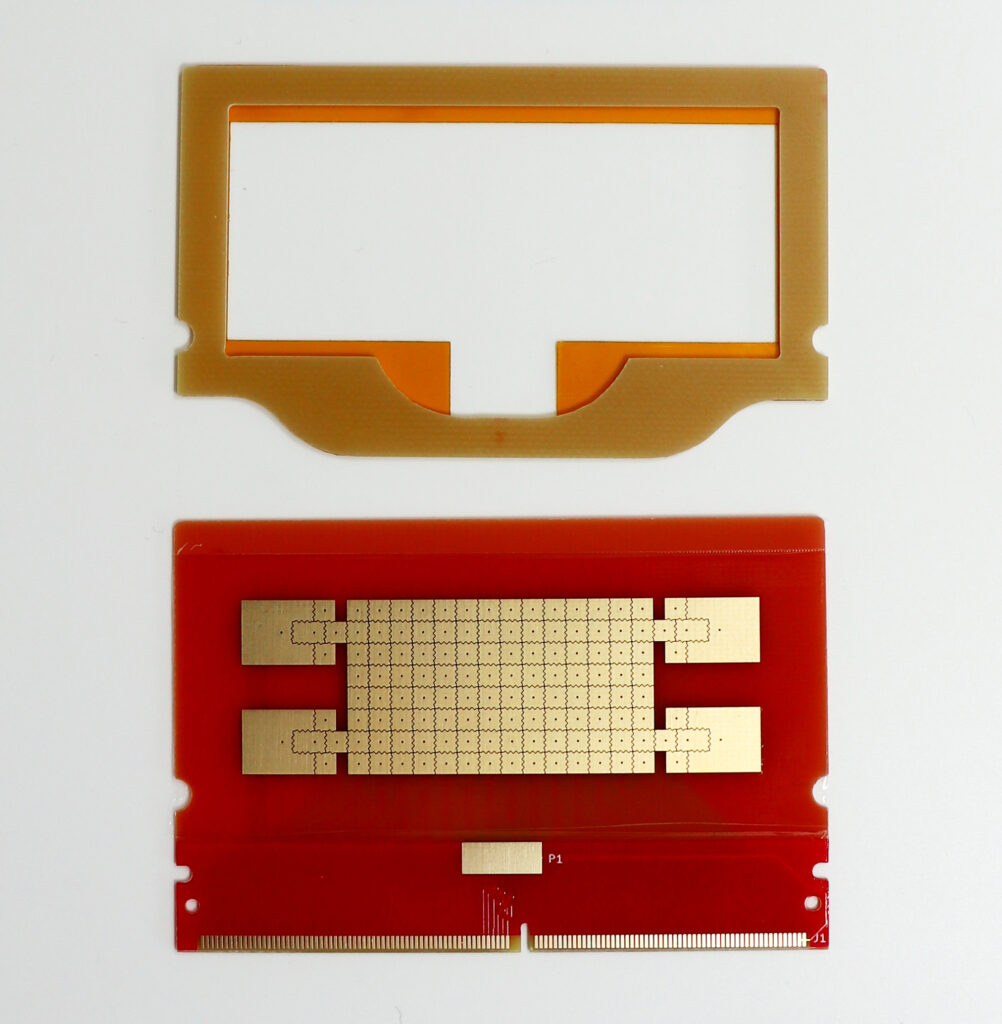
Materials
- Electrode board with laminated film
- Spacer frame with spacer applied
- Assembly Jig
Step-by-step
- Score the film on the electrode board close to the masking tape (fig 1)
- Peel of the masking tape (above and below) (fig 2)
- Remove the adhesive liner from the spacer frame
- Align spacer frame with electrode board using the assembly jig. Press down from the side of the frame (fig 3)
Pictures / Videos
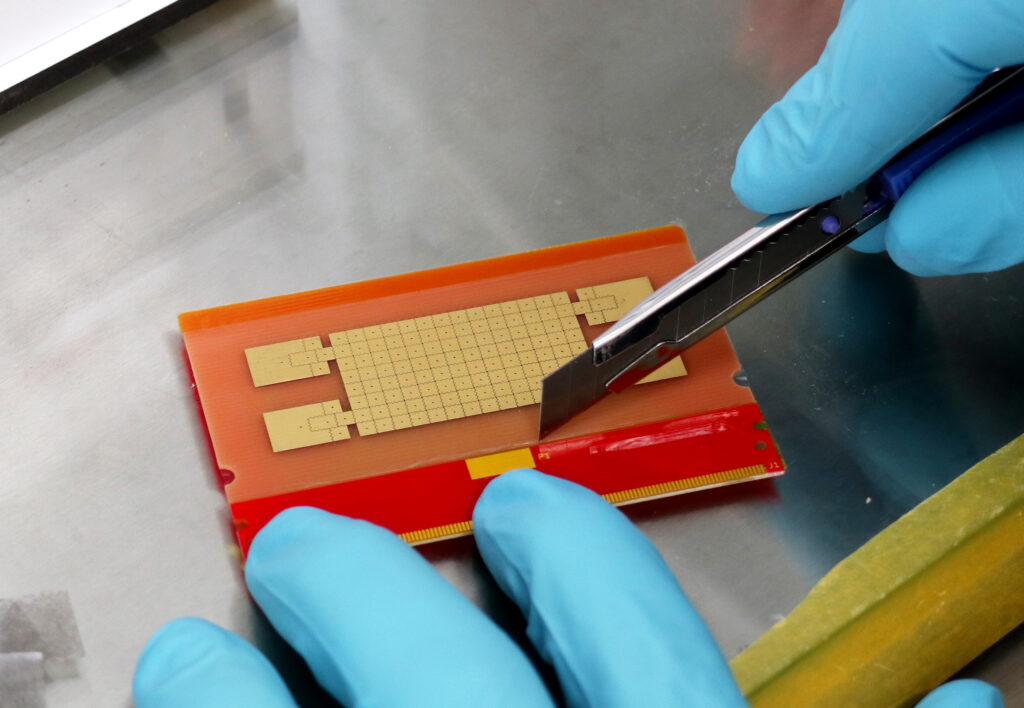
fig 1 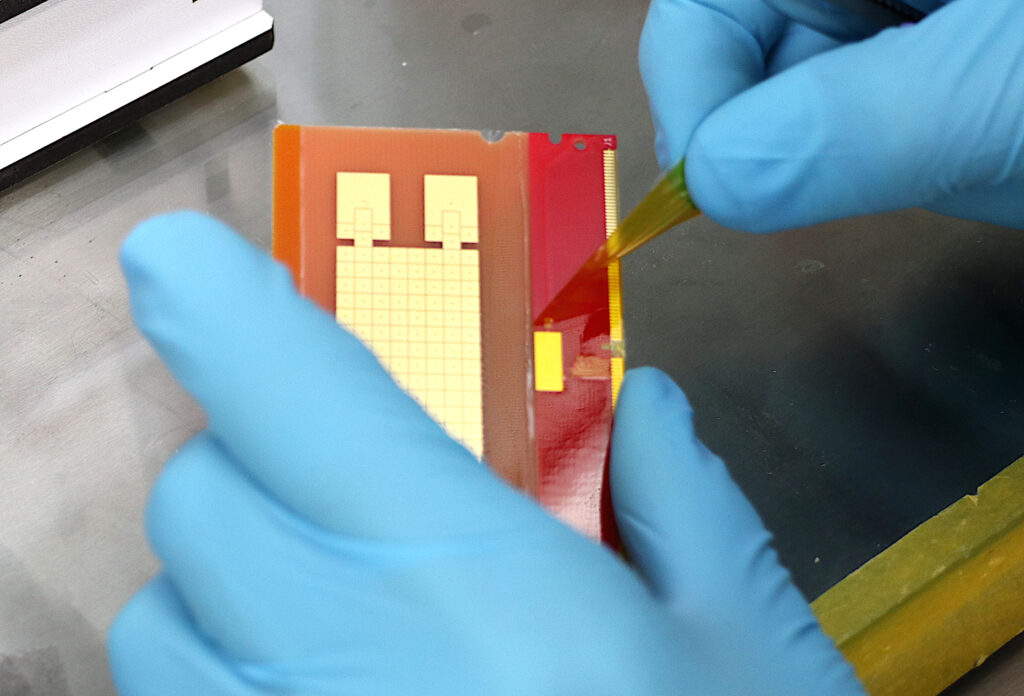
fig 2 
fig 3
Files / Templates:
| ID | 3.2. | |
| Title | Preparing and Assembling ITO Glass and Top Cover | |
| Scope | Preparing the ITO glass with conductive tape and assembling it to the bottom part of the cartridge. Adding top cover. | |
| Buy | Shop link for Assembled Cartridges |
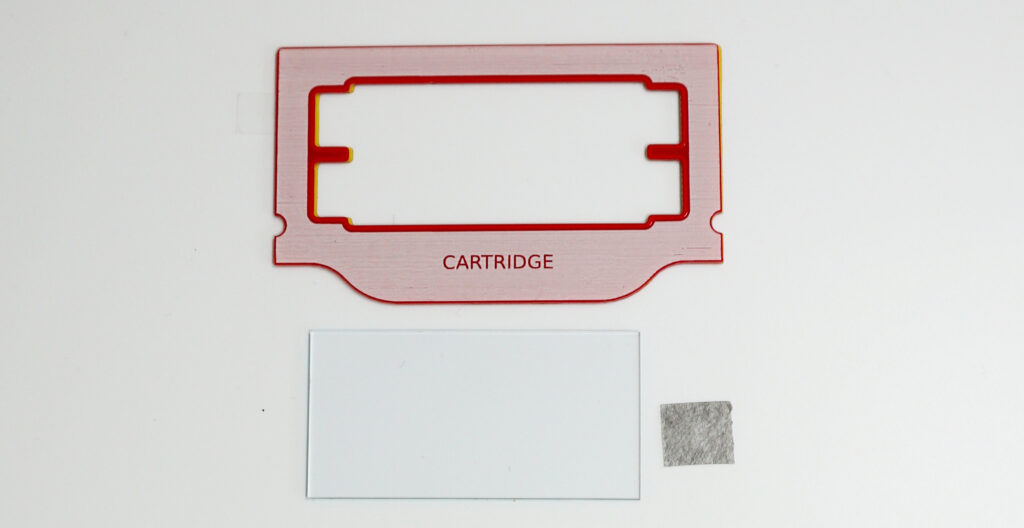
Materials
- Electrode board with spacer assembled
- Coated ITO top cover glass
- Top cover with adhesive film
- Conductive Adhesive Transfer Tape (3M 9719)
Step-by-step
- Remove the conductive layer on the bottom of the ITO glass by scratching with a pair of tweezers (section of 1.5 mm from the center of the bottom edge)
- Cut of a square piece of conductive tape (fig 2)
- Remove the adhesive liner on one side of the conductive tape and attach the tape to the bottom of the ITO glass with the coating removed (fig 3)
- Remove the second adhesive liner from the conductive tape.
- Align the ITO glass with the coated side down on the electrode board. An alignment tool can be used to center the glass with the spacer frame. (fig 4)
- Press the conductive tape down to stick on the contact electrode (fig 5)
- Remove adhesive liner from the top cover
- Assemble the top cover board using the assembly jig (fig 6)
Pictures / Videos
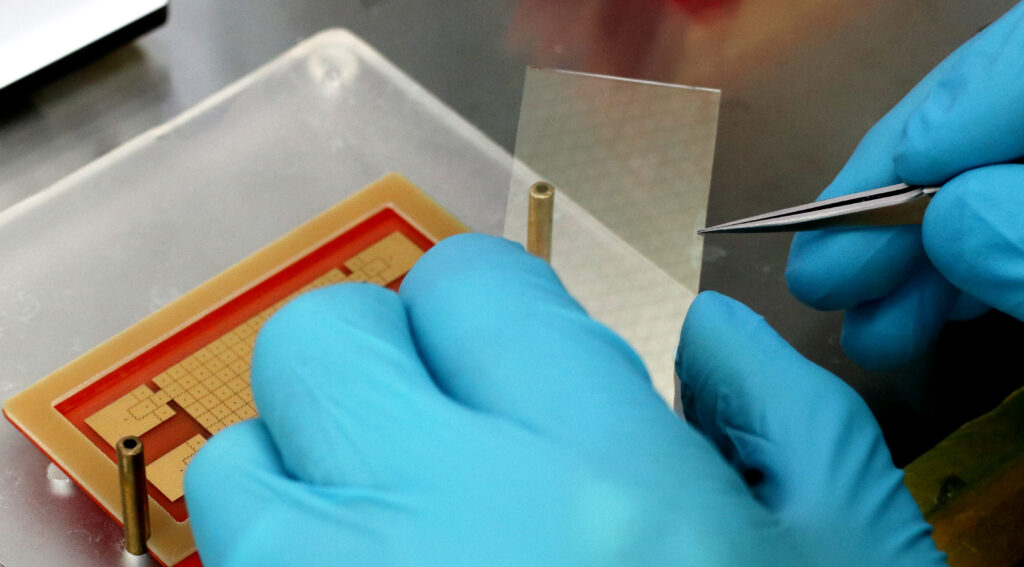
fig 1 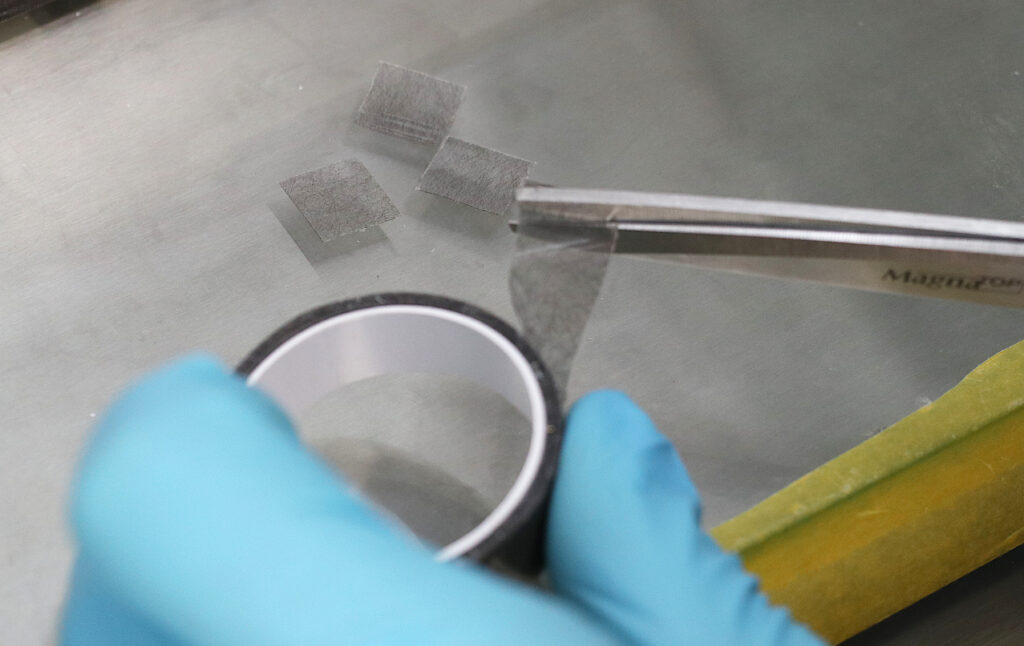
fig 2 
fig 3 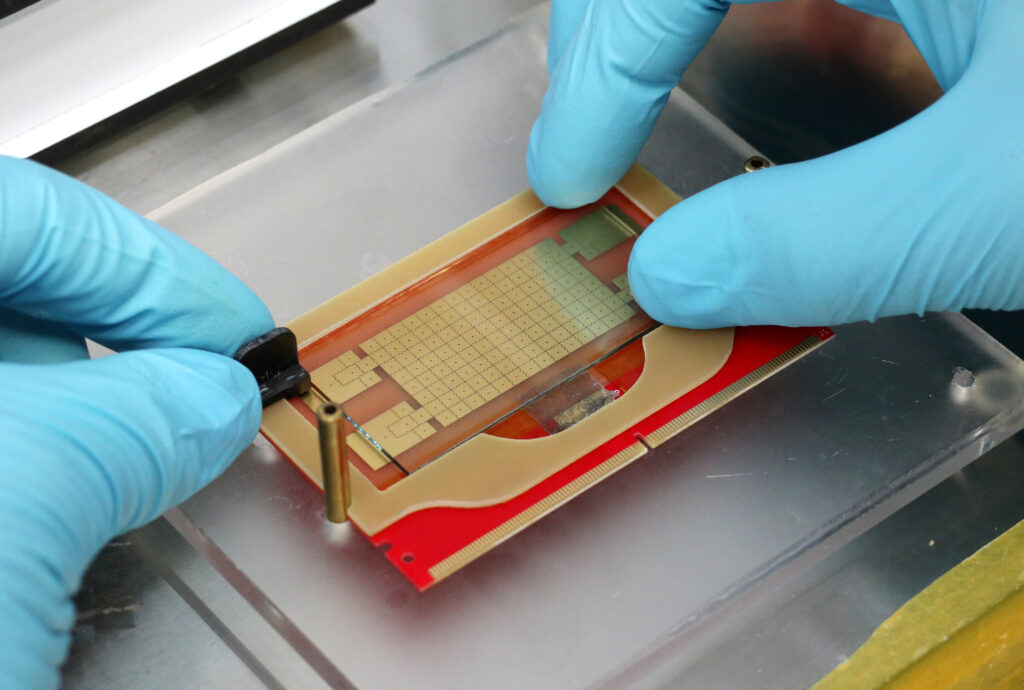
fig 4 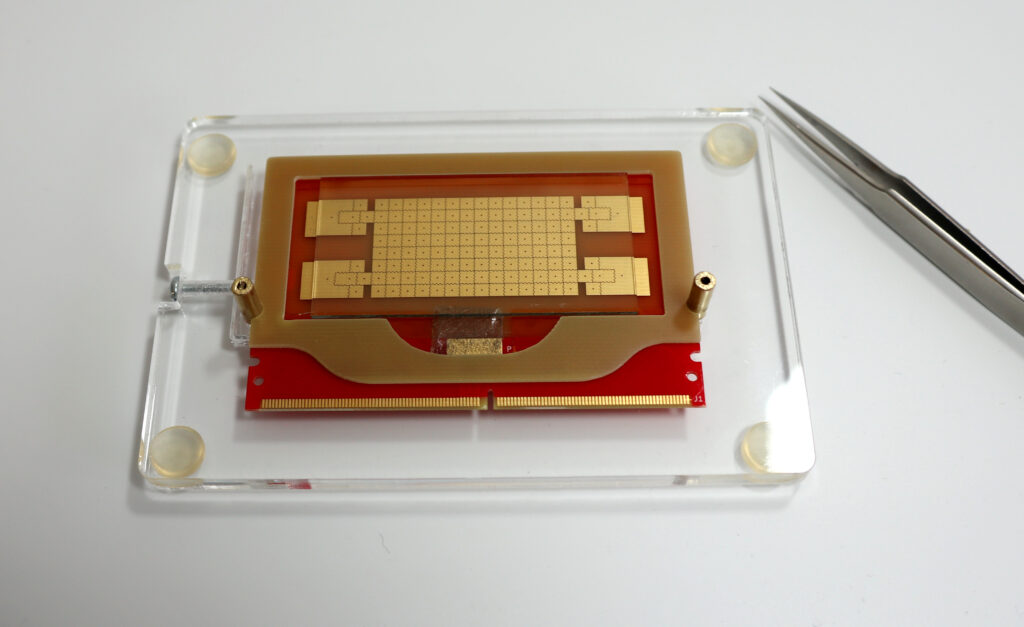
fig 5 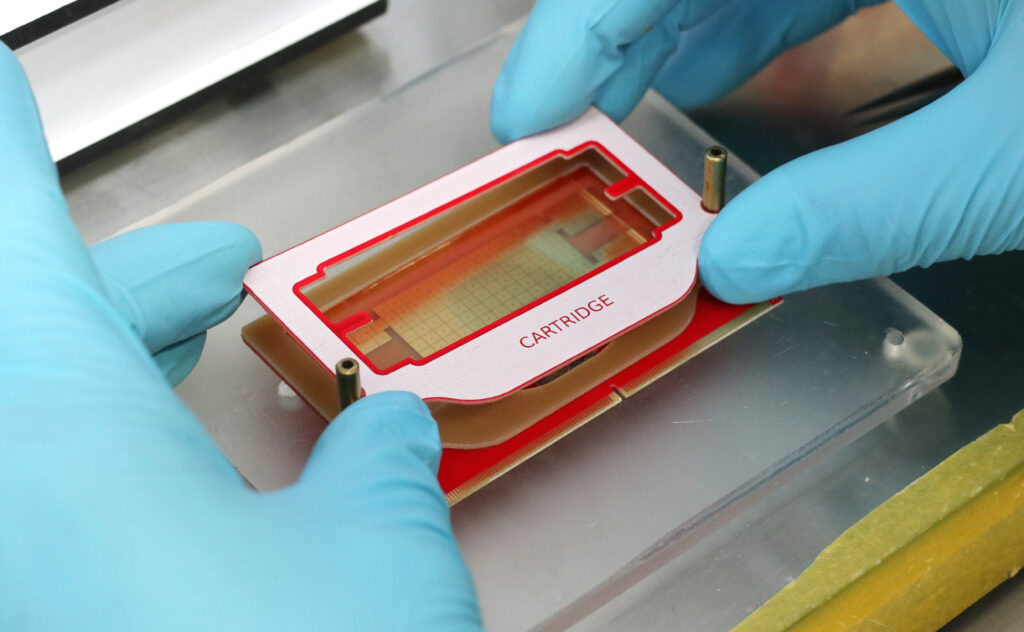
fig 6
Files / Templates: