
Process overview
1. Parts Preparation
| ID | 1.1. | |
| Title | Top Cover Preparation | |
| Scope | Prepare the top cover with adhesive tape for assembly | |
| Buy | Shop link for Top Covers |
Materials
- Top cover
- Kapton tape, 80 um, double sided silicon adhesive
Step-by-step
- Remove liner from double sided kapton tape and apply it to a non sticking cutting mat
- Cut out kapton stickers using USB desktop cutter. File can be sent by smart phone app (fig 1)
- Apply kapton sticker to top cover using the cartridge alignment jig. First lay down the sticker with the sticky side up then the cover. (fig 2)
- Pass the top cover through a laminator (fig 3)
- Score the peel-off tap with a sharp knife close to the edge of the cover (fig 4)
- Remove the kapton from the peel-off tab (fig 5)
Pictures / Videos
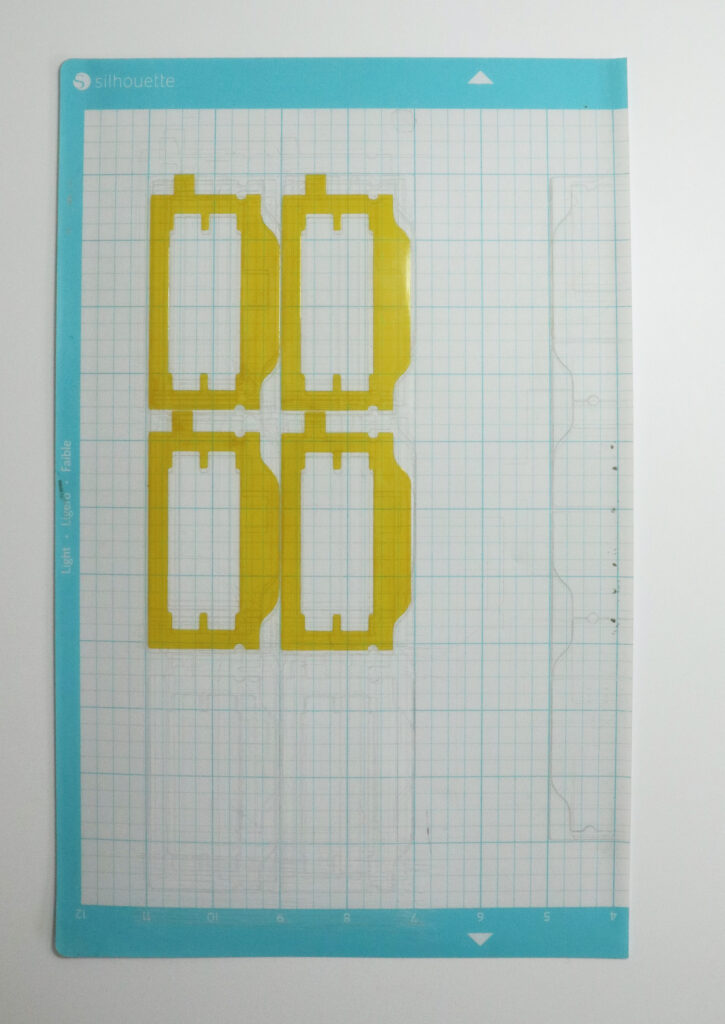
fig 1 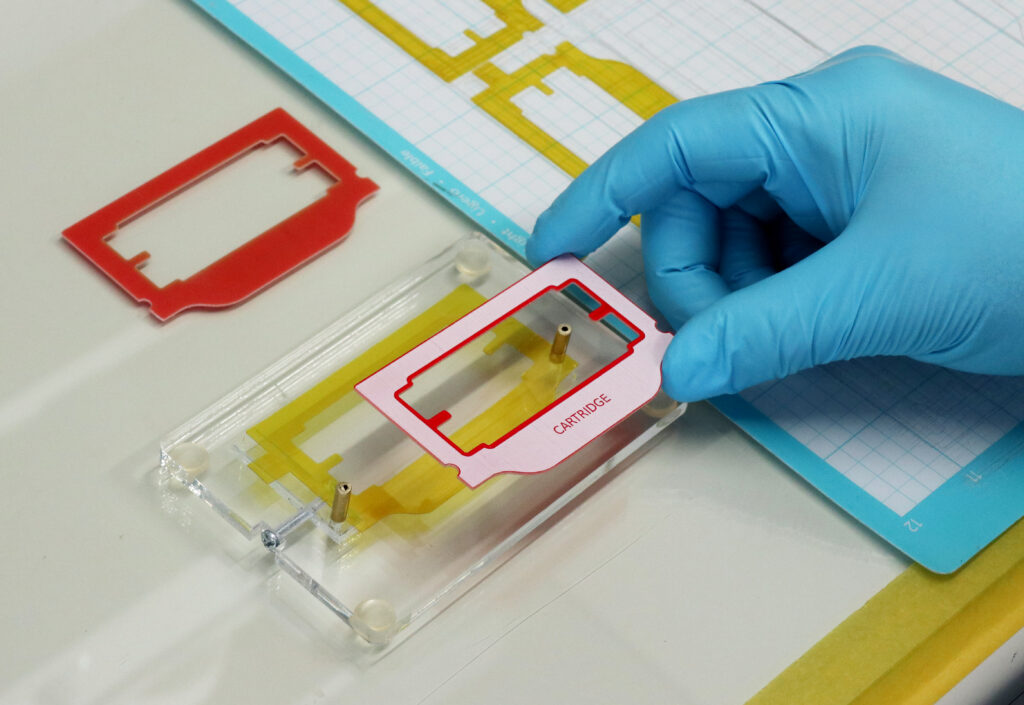
fig 2 
fig 3 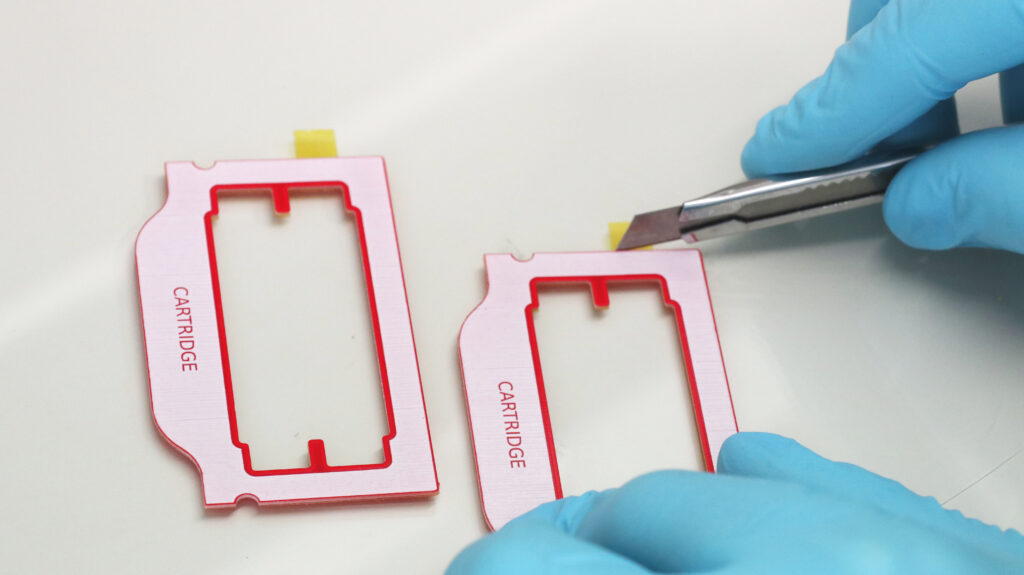
fid 4 
Files / Templates:
| ID | 1.2. | |
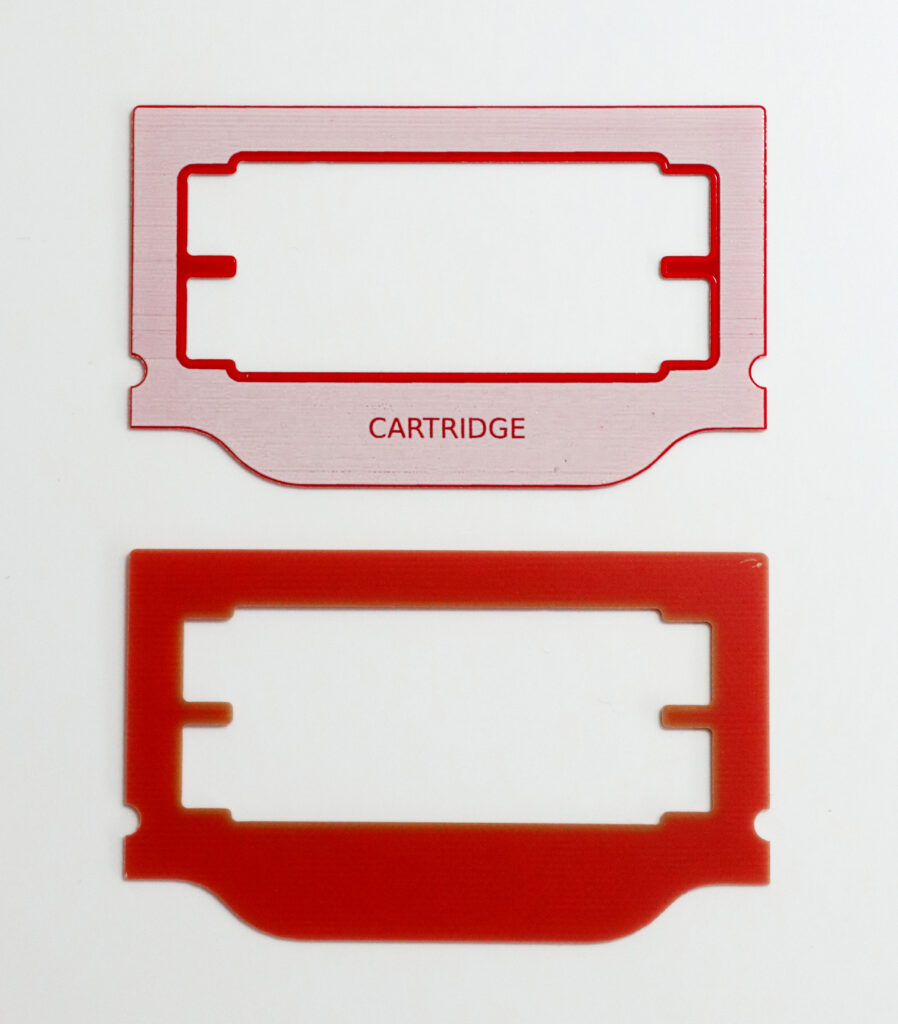
| Title | Spacer Frame Preparation | |
| Scope | Prepare the space frame with adhesive tape for assembly | |
| Buy | Shop link for Spacer Frames |
Materials
- Spacer frame
- 278um 3M PET Membrane Switch Spacer with double sided acrylic adhesive (7961MP)
Step-by-step
- Cut out spacer using laser cutter. (fig 1)
- Apply spacer sticker to spacer frame using the cartridge alignment jig. First lay down the sticker with the sticky side up then the frame. (fig 2)
- Pass through the laminator
Pictures / Videos
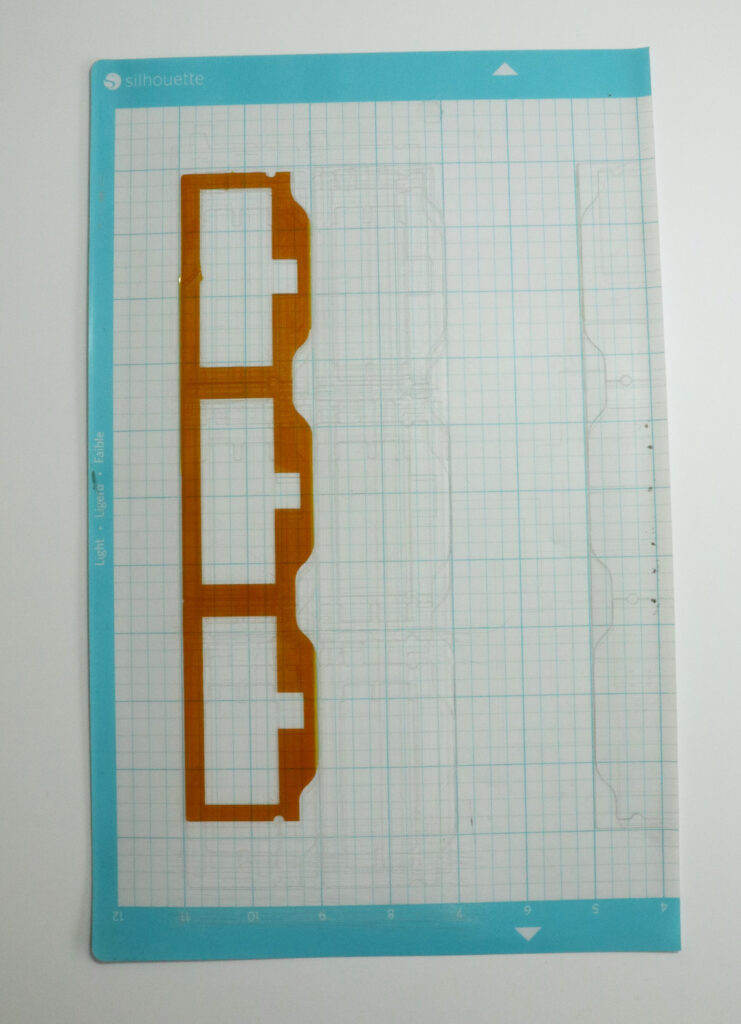
fig 1 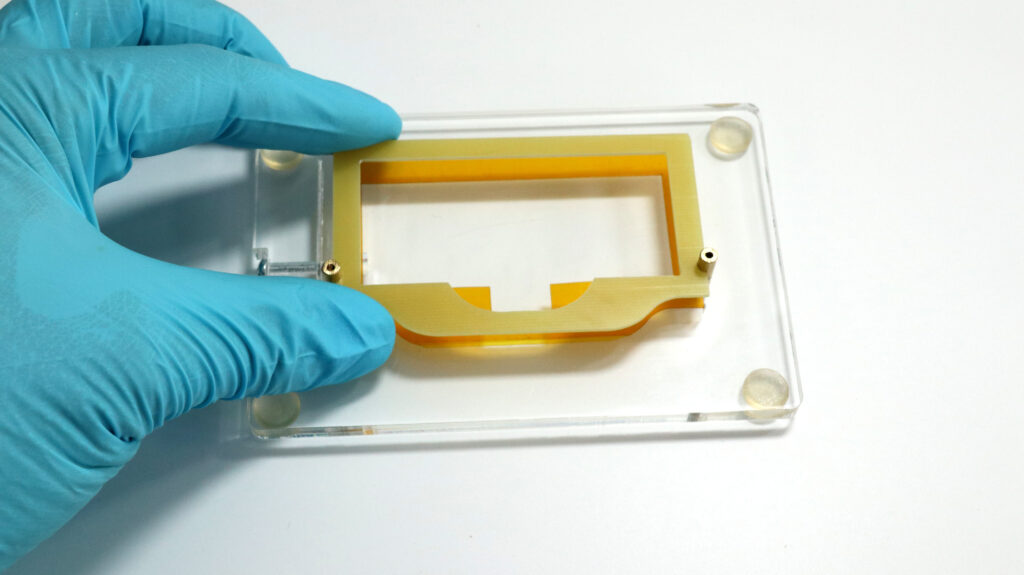
fig 2
Files / Templates:
| ID | 1.3. | |
| Title | Electrode Board Preparation | |
| Scope | Prepare the electrode board with double sided adhesive masking for laminating | |
Materials
- Electrode baoard (shop link)
- Kapton tape, 80 um, double sided silicon adhesive
Step-by-step
- Remove liner from double sided kapton tape and apply it to a non sticking cutting mat
- Cut out kapton stickers using USB desktop cutter. File can be sent by smart phone app (fig 1)
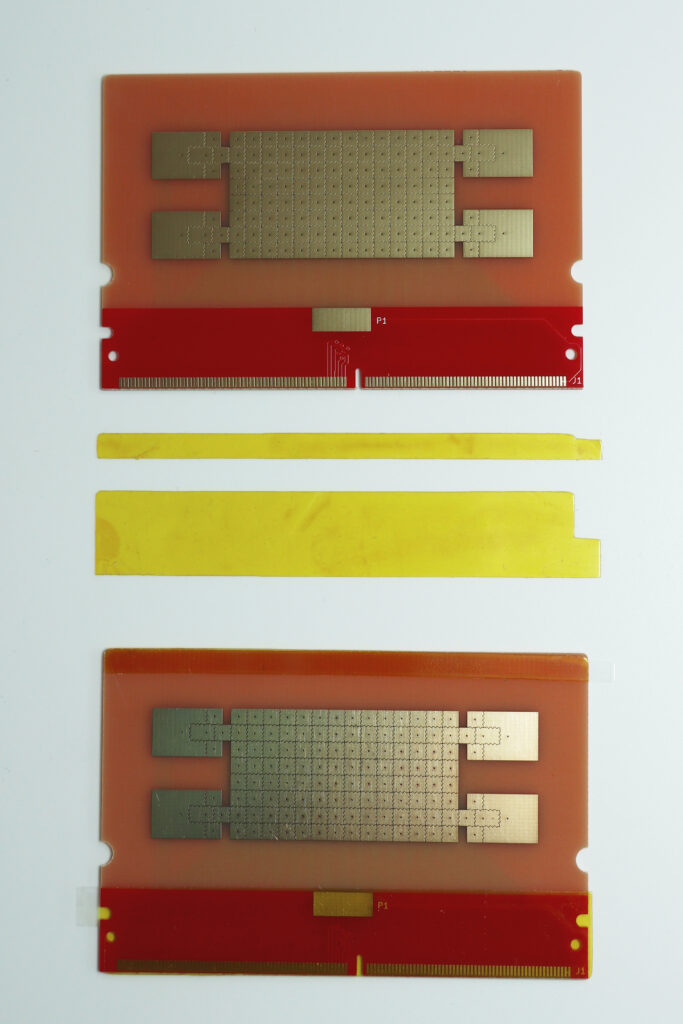
- Apply kapton sticker to electrode board by aligning it as shown in fig. 2
- Pass electrode board through a laminator
Pictures / Videos
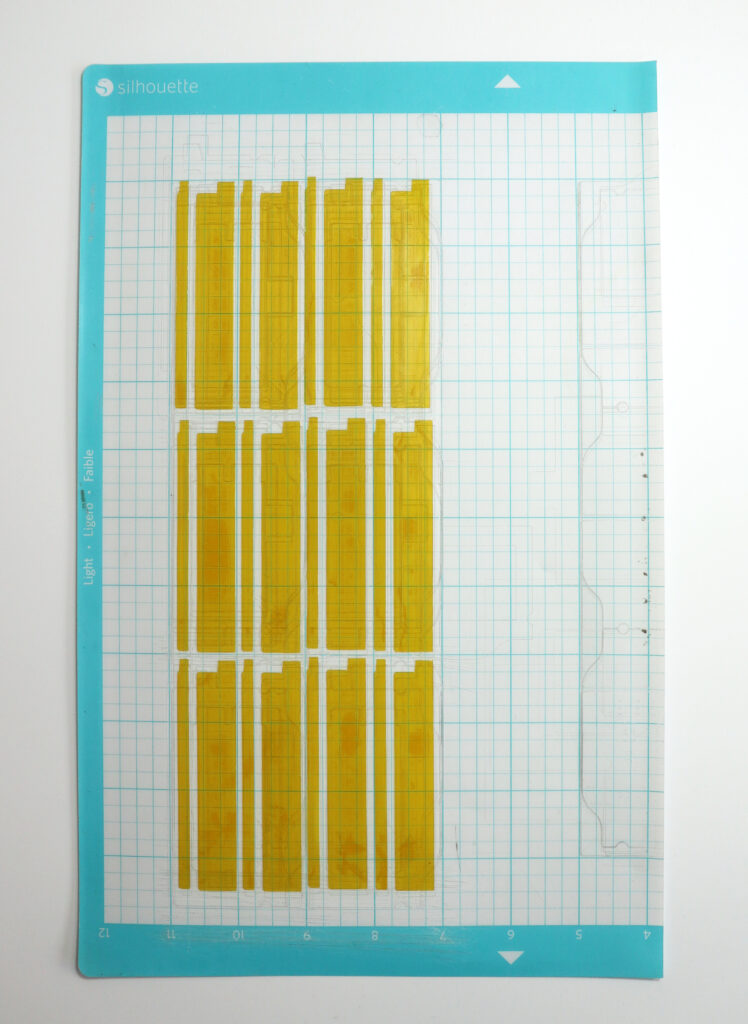
fig 1 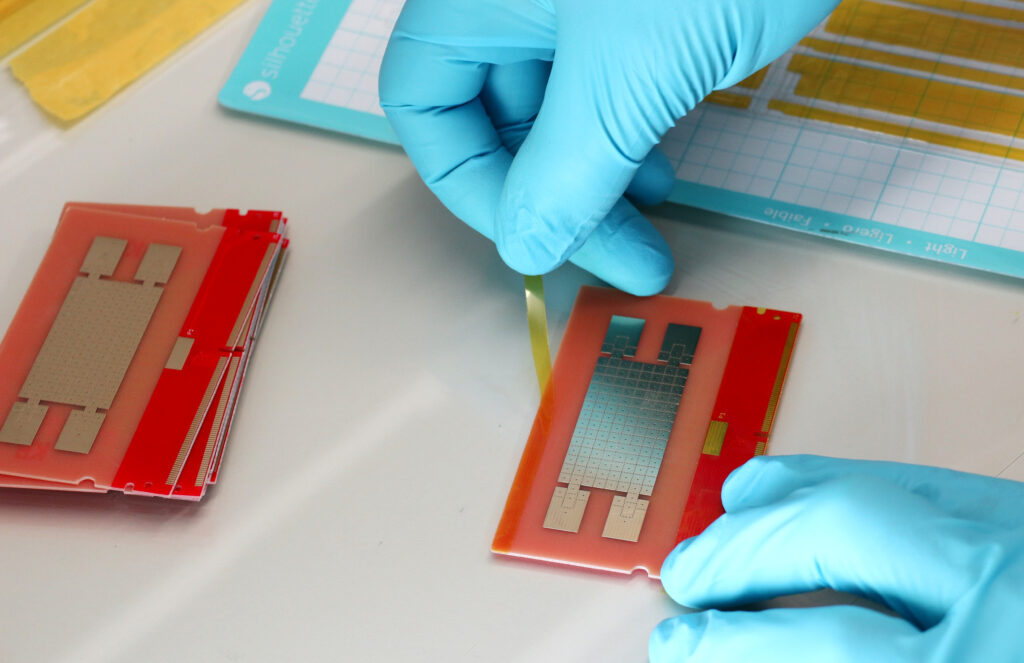
fig 2
Files / Templates:
| ID | 1.4. | |
| Title | ITO Glass Coating | |
| Scope | Hydrophobic Coating of the ITO top cover glass | |
| Buy | Shop link for Hydrophobic Coated ITO glass |
Materials
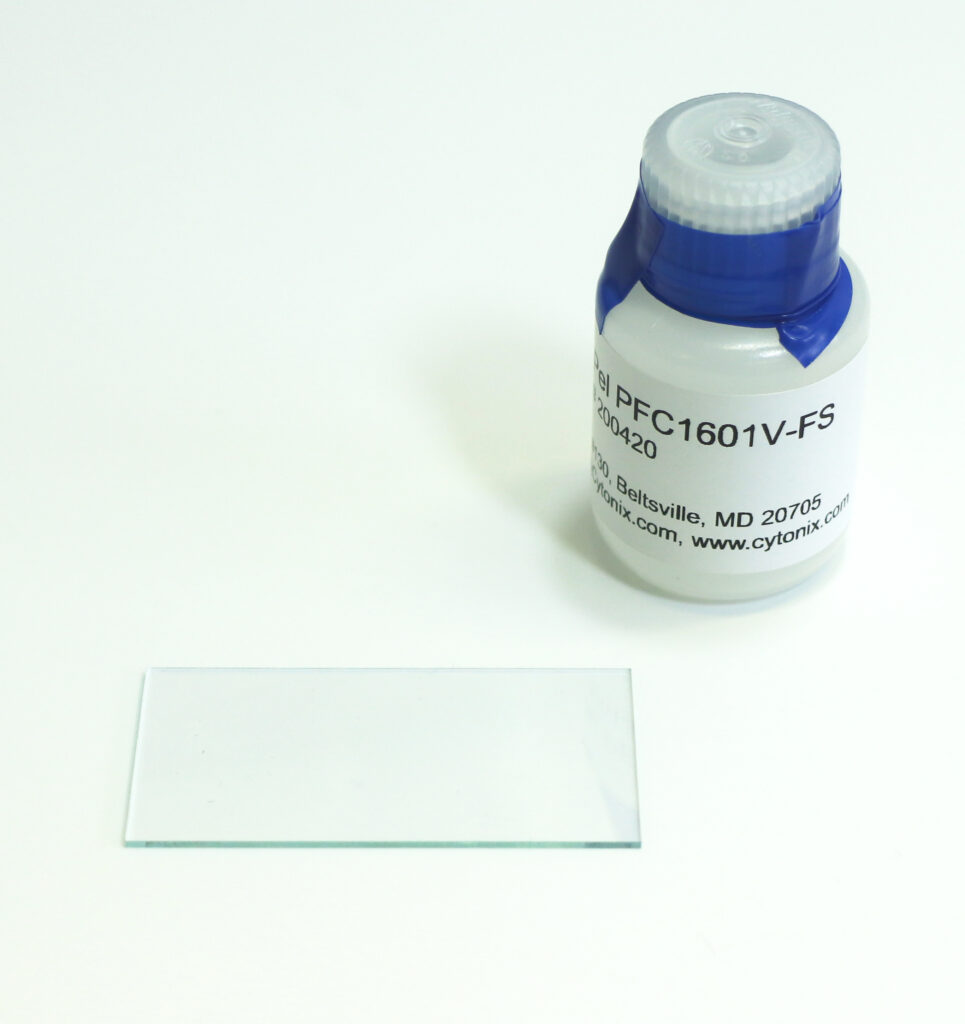
- Conductive (ITO coated) top cover glass (shop link)
- Cytonix, Fluoropel coating – PFC1601V-FS
Step-by-step
- Using a multimeter test for the conductive side. (fig 1)
- Put the glass with the conductive side facing up on a spin-coater (with vacuum chuck)
- Apply 60 ul of Fluoropel coating using a micro pipette (fig 2)
- Spread the Fluoropel using a plastic squeegee over the full size of the slide (fig 3).
- Spin slide at 2500 rpm for 30 seconds
- Cure on hotplate at 180°C for 20 minutes (fig 4)
Pictures / Videos
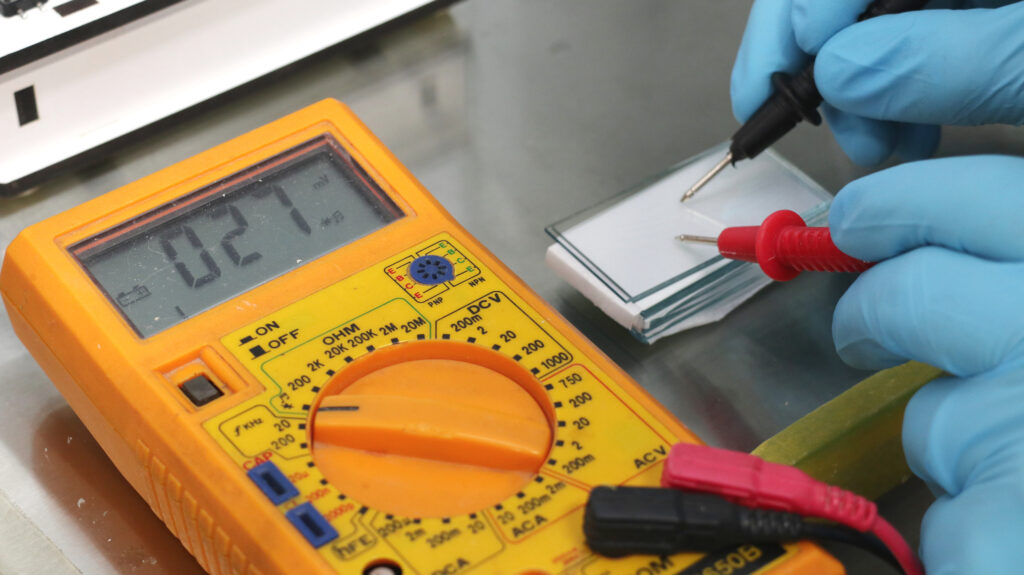
fig 1 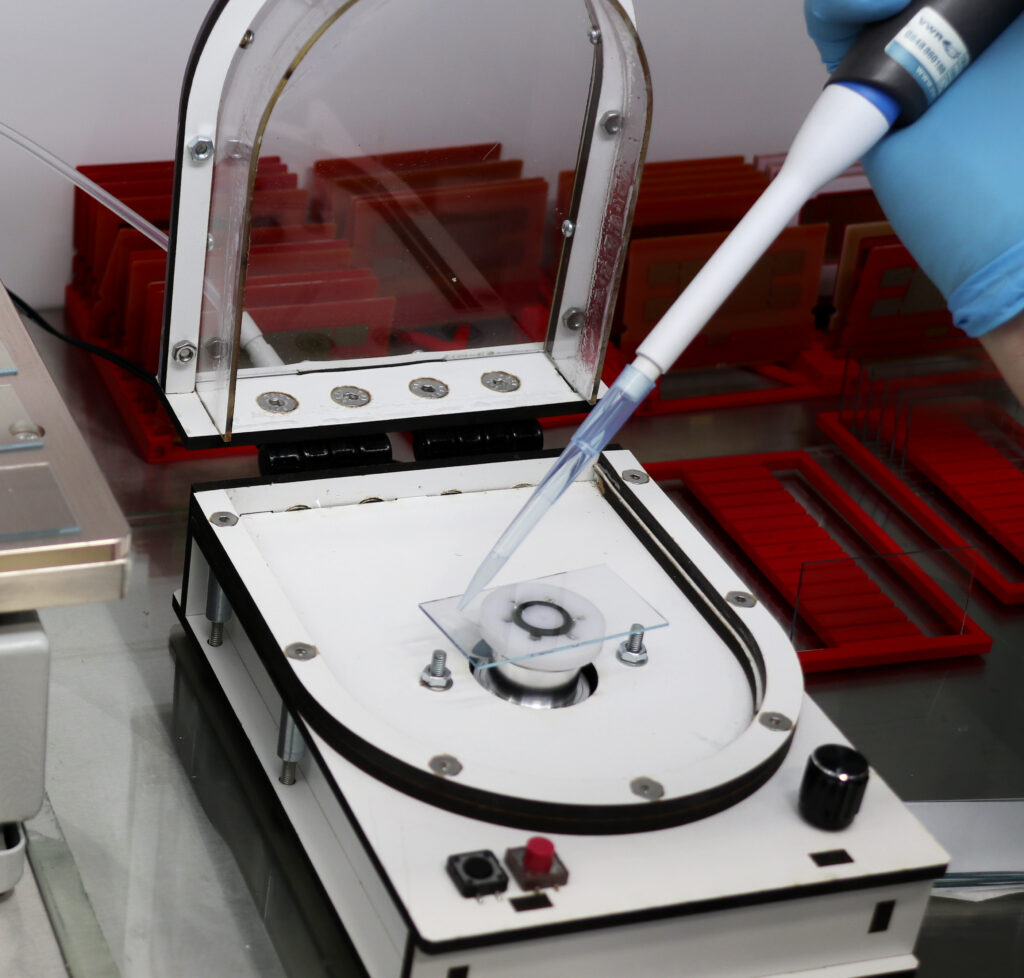
fig 2 
fig 3 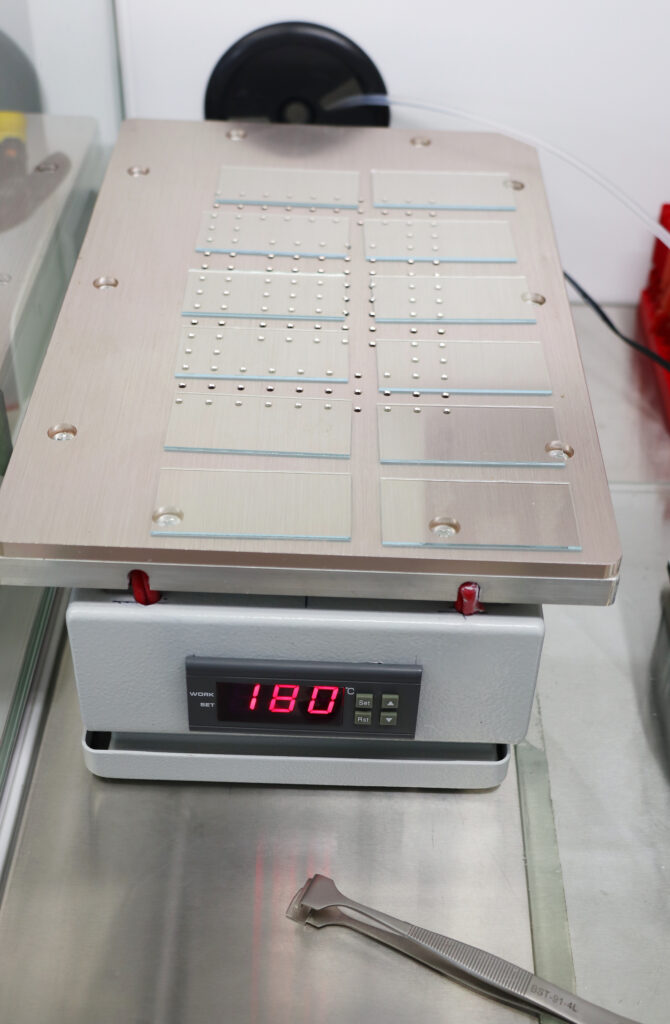
fig 4
Files / Templates: