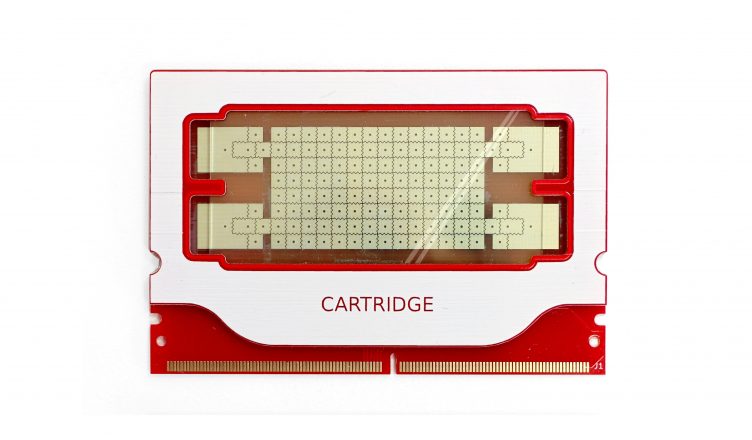
The OpenDrop V4 Cartridge is an integrated cartridge system.
The cartridge offers an array 4×8 individually addressable electrodes and 4 CT-type reservoirs. It can perform all the digital microfludics functions of “move, mix, split and reservoir dispensing”.
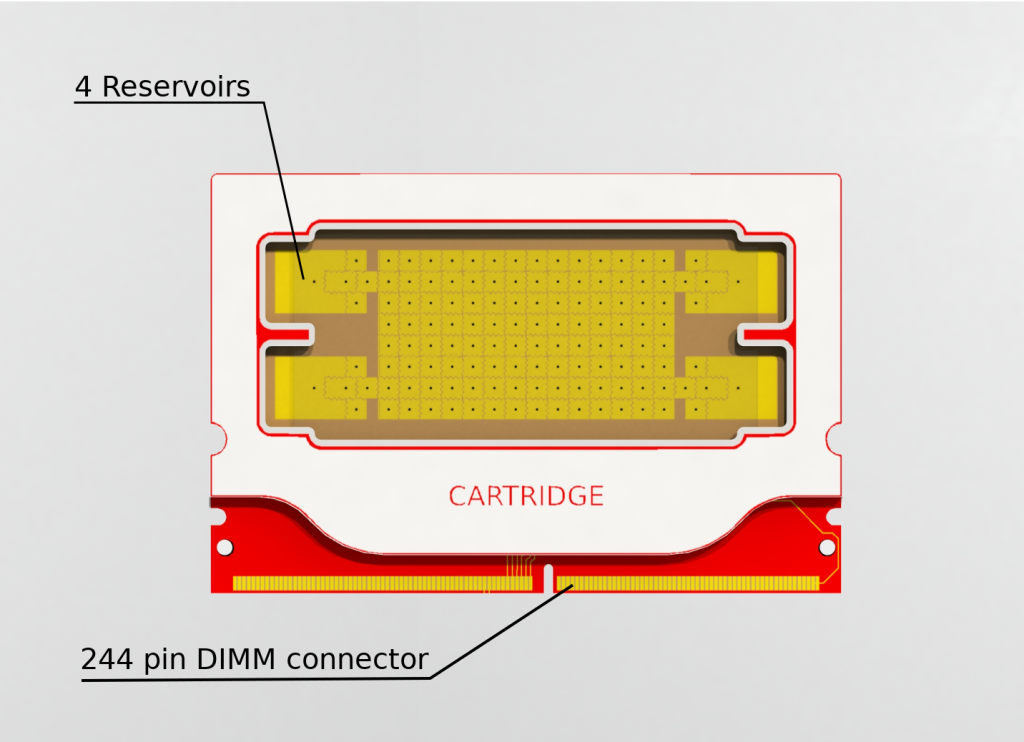
The cartridge is connected to the OpenDrop V4 through a 244 pin DIMM connector. It is automatically detected by the device. The ITO glass is connected to the feedback amplifier by the cartridge connector for feedback reading.
Specifications:
- Dielectric 15um ETFE foil
- Coating FluoroPel (foil and cover glass)
- ITO Cover glass
- Gold coated 14×8 electrodes array, 2.75 mm x 2.75 mm in size, 4mil gaps between electrodes
- Liquid gap: 240 um
- Droplet volume: 2 ul
- Reservoir volume: 12ul
Construction of the cartridge
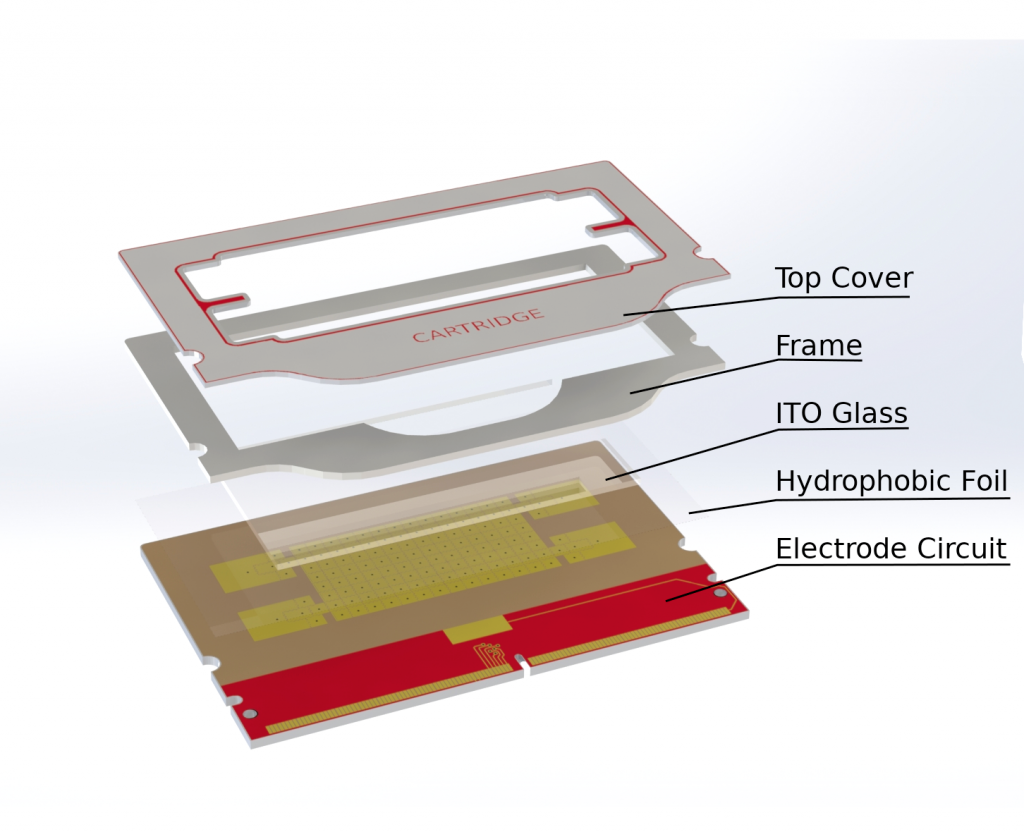
The cartridge is composed of multiple layers. Laminated to the electrode array circuit board is a ETFE foil coated with a hydrophobic coating FluoroPel PFC1601V from Cytonix. The conductive ITO glass is attached to the board though double sided adhesive with the exact thickness of the liquid gap. A frame and top cover protect and hold in place the top cover glass.
Inserting the cartridge
The cartridge inserts into the OpenDrop V4 through the cartridge connector.
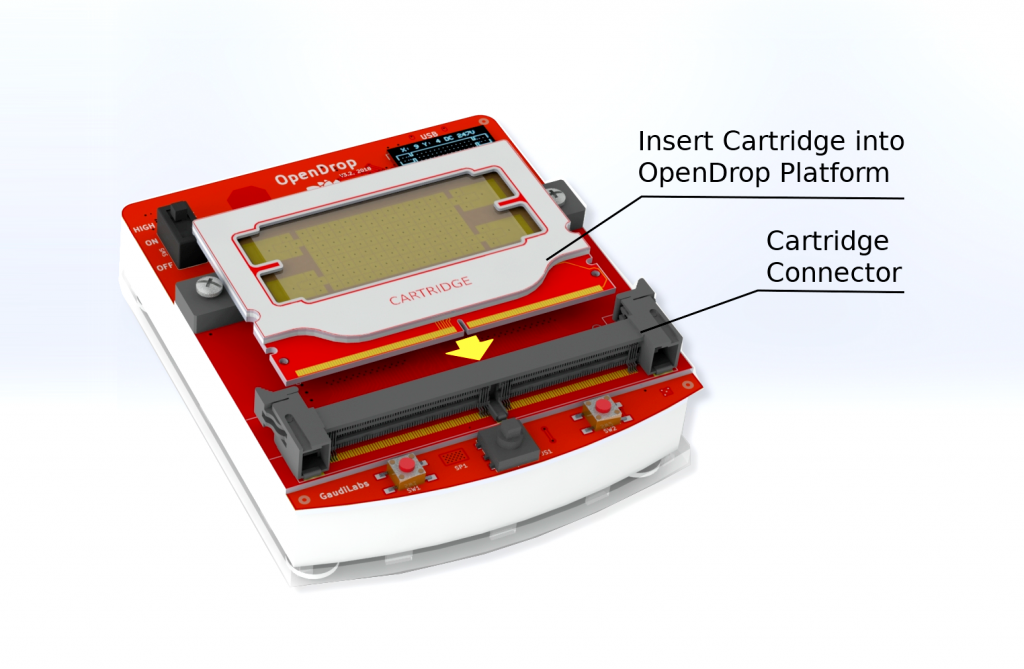
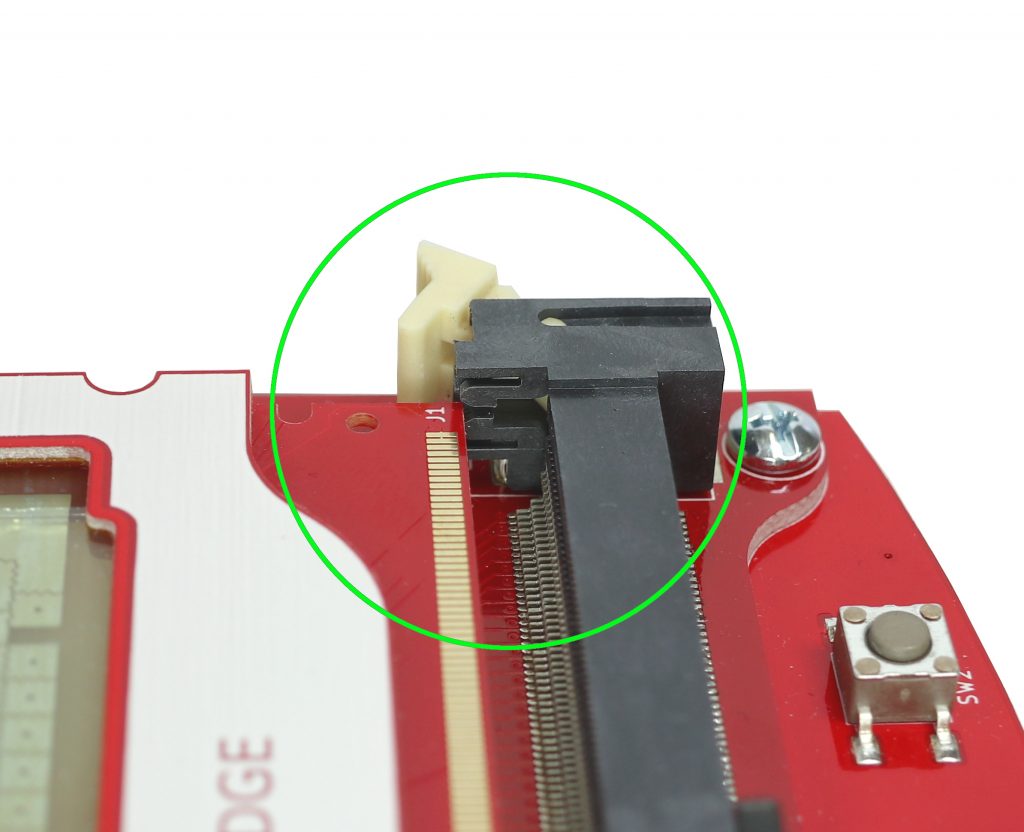
To insert the cartridge first make sure the high voltage is turned off. Then align the cartridge in between the two notches of the cartridge connector as shown in the image below.
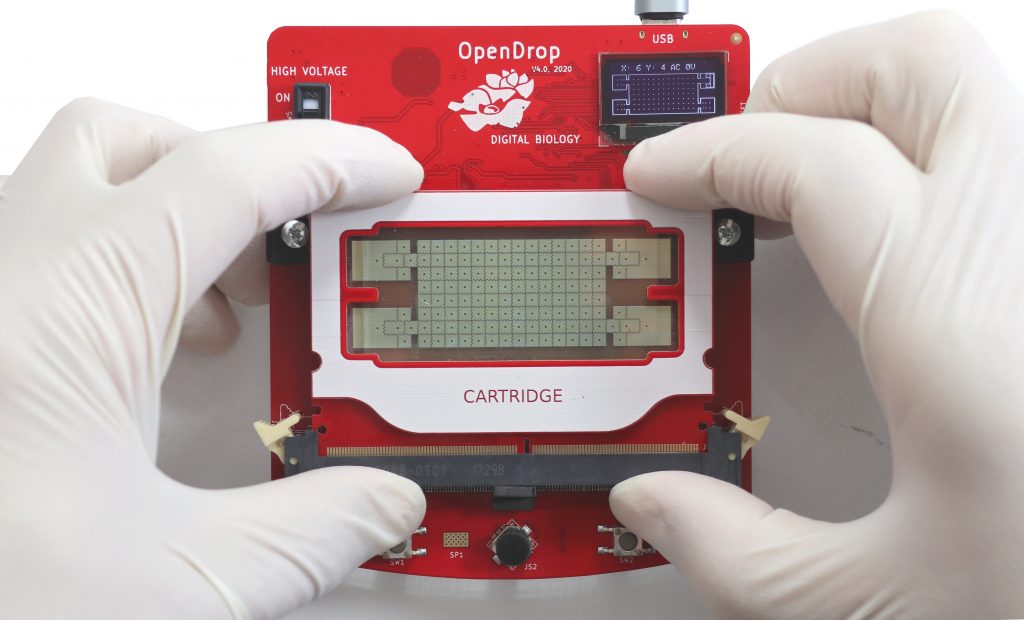
Once aligned the cartridge must be pressed firmly into the connector until fully plugged. Press using two hands from the top of the cartridge and the bottom of the connector as shown in the image.
Removing the cartridge
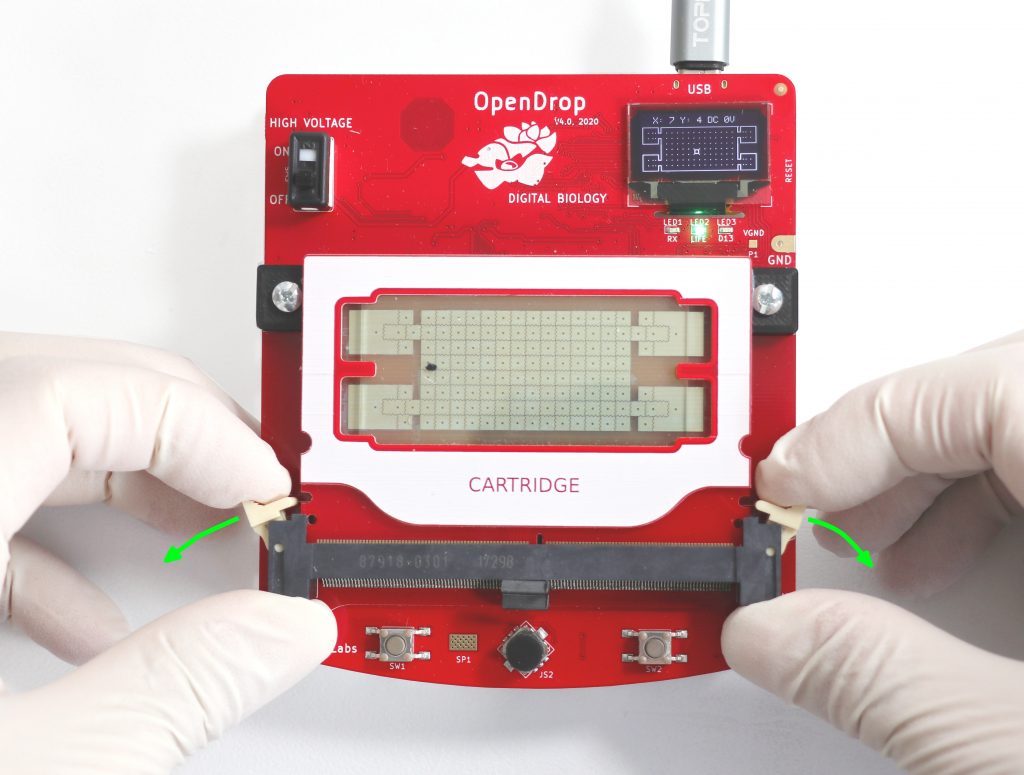
To release the cartridge from the connector pull the two white release levers simultaneously to the side until the cartridge is released.
Using the cartridge
Using the built in soft menu, set the voltage to the specified settings. To access the menu press the SW1 button.
Recommended settings for the OpenDrop V4 Cartridge:
- Mode: AC
- Voltage: 240 Volt
- Frequency: 1000 Hz
To save the modifications change “SET” to “OK” and press the SW1 button.
Switch on the high voltage to the cartridge by pushing the “High Voltage” switch situated at the top left to the ON position.
Filling the Reservoir
To fill a reservoir, first activate the big reservoir electrode by navigating with the cursor to the electrode or by activating it through the PC software.
Now fill the reservoir using a micro pipette from the side of the cover glass. Be gentle to avoid damaging of the thin foil on the electrode surface.
Liquids need the right surface tension to be filled into the reservoirs. Surface tension can be adjusted using surfactants. GaudiLabs Digial Liquid is a water based liquid ideally adjusted for use with the OpenDrop Cartridge.
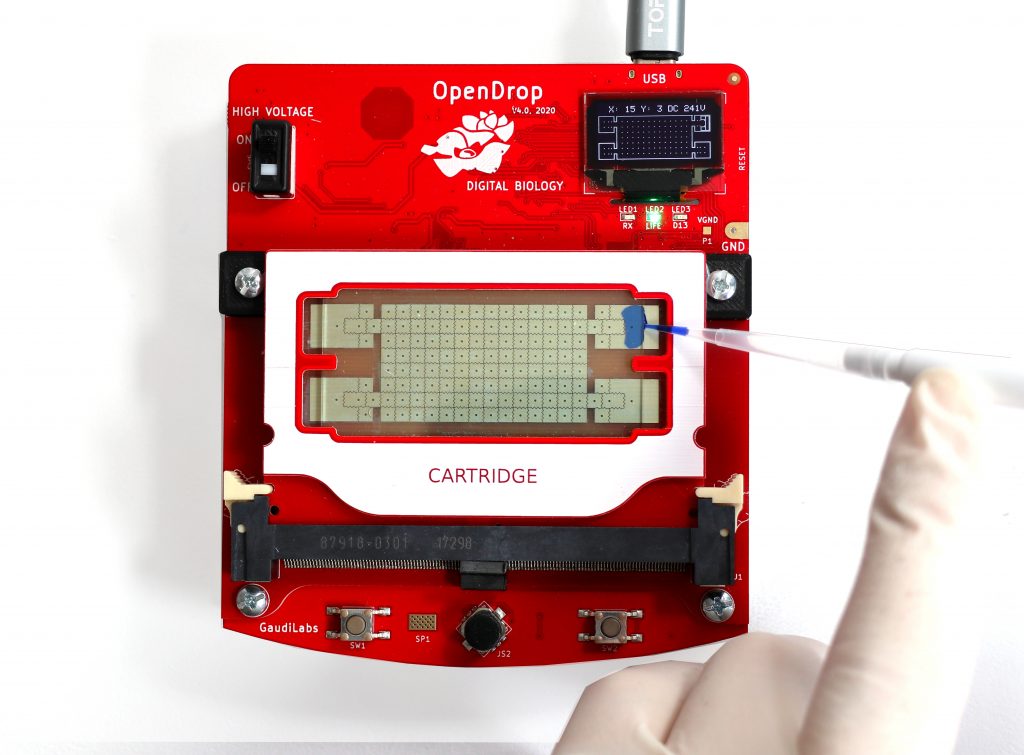
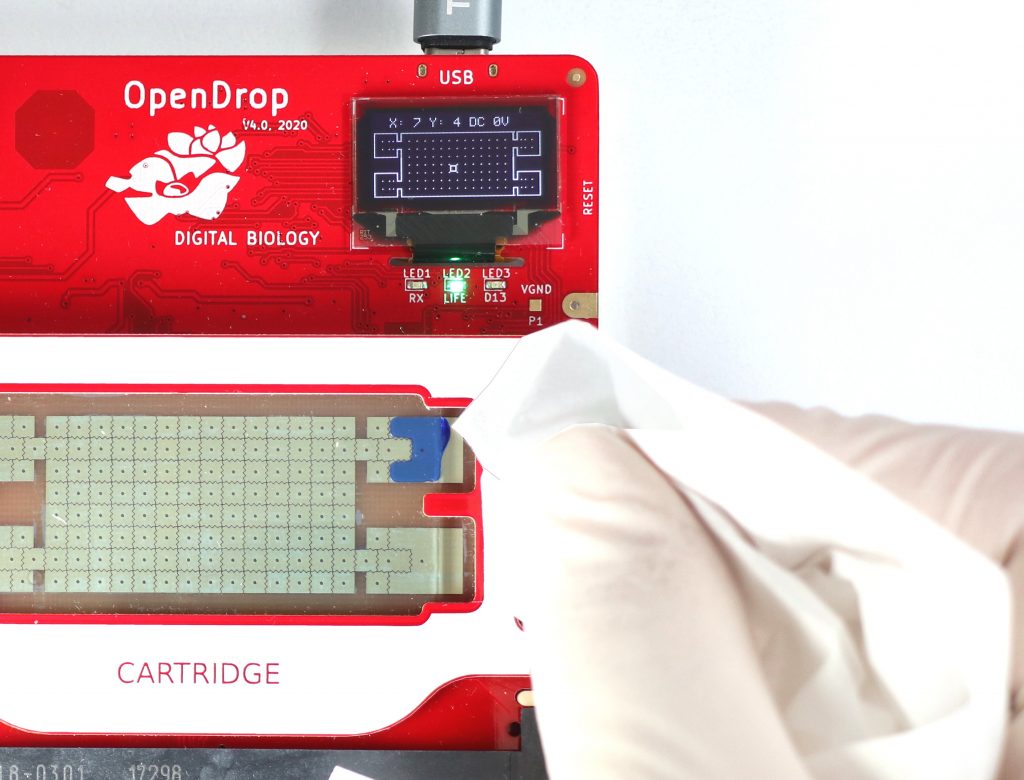
The reservoir can hold 12 ul of liquids. Remove any excess liquid that is sitting on the side of the cover glass using a clean paper wipe.
Dispensing from the Reservoir
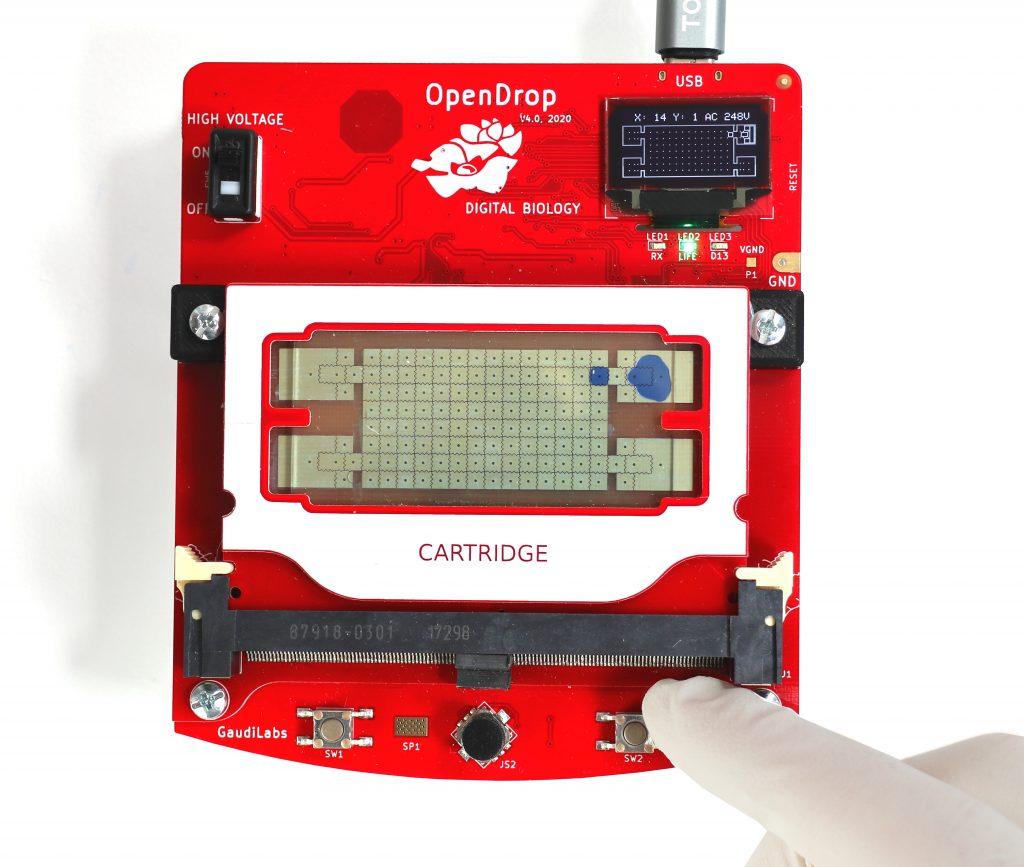
Now press button SW2 to start the dispensing sequence. Note that the dispensing sequence can only be started when the big reservoir electrode is activated using the joystick.
Once a droplet has been dispensed on the electrode array, it can be moved around by use of the built in joystick or using the PC software.
Emptying Liquids from the Cartridge
To remove liquids from the cartridge, navigate the liquid drop back in the reservoir. Then using a clean paper wipe or a fine pipette tip, the liquid can be aspirated from the side of the cover glass. Be gentle not to damage the surface of the cartridge. If droplets are stuck in the center of the cartridge, removing the cartridge and tapping it on the side can help.
Store the cartridge in its original bag and seal after use.
Open Source Notice:

All design files and the full production process of the cartridges are open source and licensed under an open intellectual property license.
Cartridge production process.
Cartridge design files.
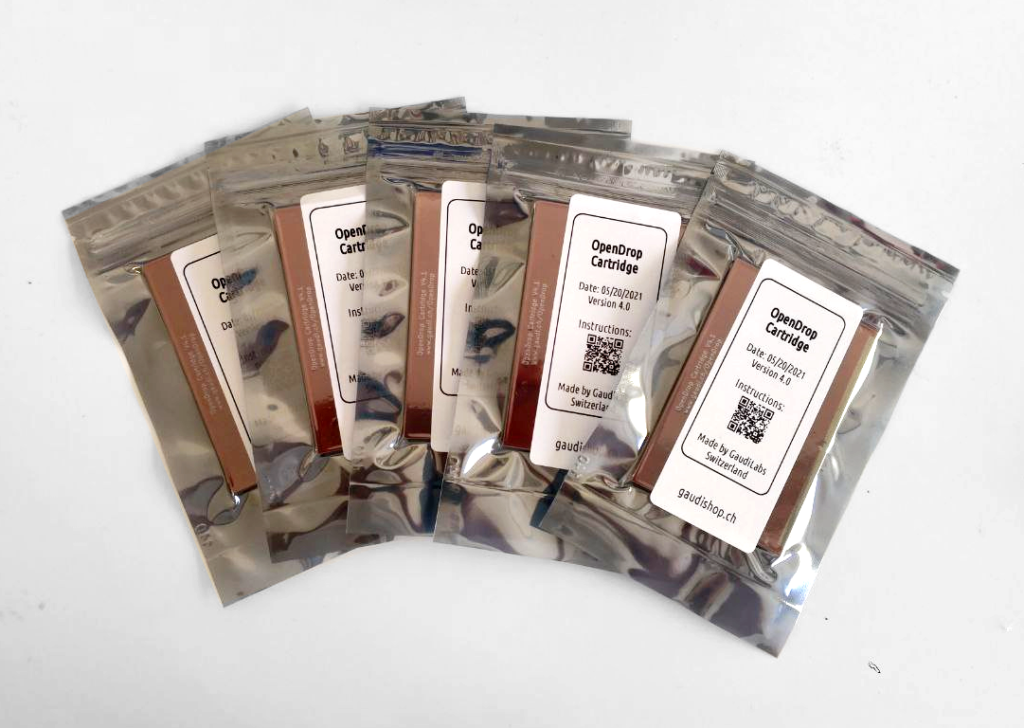
Ready to use, fully tested cartridges for OpenDrop are available in our OnlineShop, speed up your research process and buy now here.

