SMD Reflow Process
|
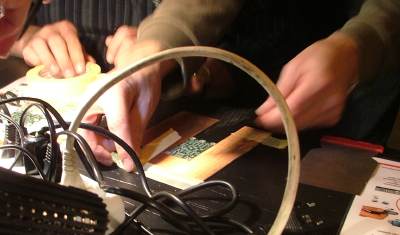 |
Build a screen printing frame by
taping some plain PCB pieces on a fat table
|
 |
Align the screen printing stencil on the PCB and fix with a tap. Then put some solder paste on top of the stencil.
|
 |
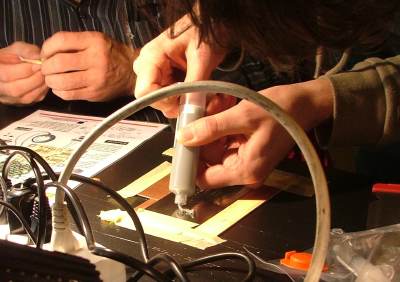
With a scraper press the solder paste through the holes
|
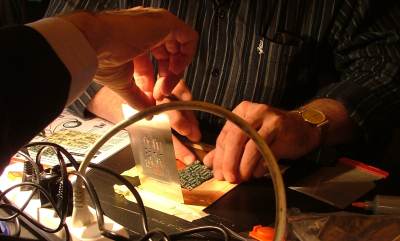 |
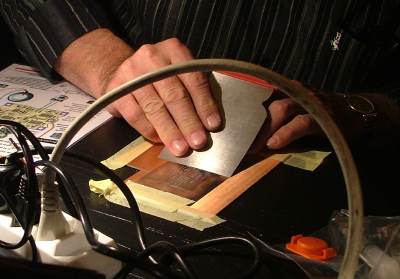
Carefully remove the stencil
|
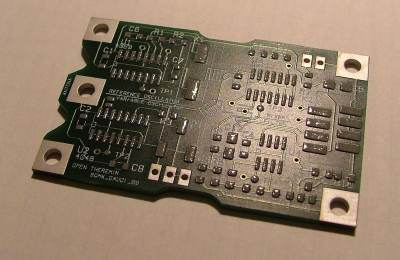 |
This is how the PCB with the solder paste on the pads looks like
|
 |
Now pick the SMD parts and place them on the pads. Be carefull not to smudge the solder paste,
|
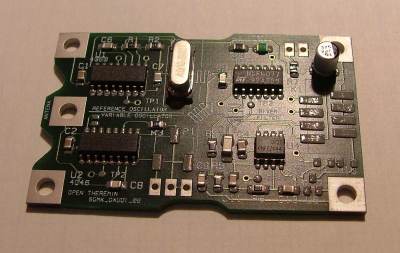 |
This is how the PCB with the parts assembled will look like.
|
|
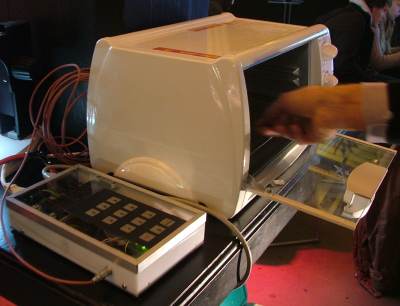
Put the PCB in the cold pizza oven
|
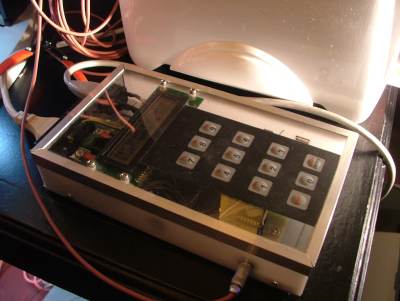 |
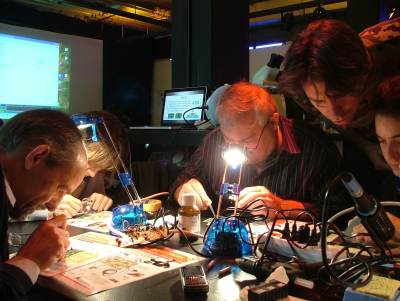
We used a DIY tempreature contoler (based on a Arduino with a solid state relais) to control the reflow profile.
|
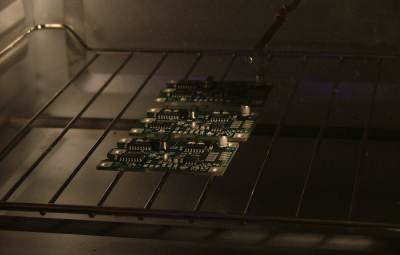 |
Multiple PCBs cooking - nice
|
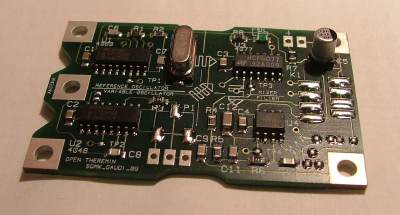 |
Et voila - the finished Open-Theremin Print
|
Here a step by step photo story on diy reflow soldering. The pictures were taken by Thomas during our Open.Theremin reflow workshop on the occasion of diy*night 2009.
|
|
||
 |
DigitalSuper by Urs
Gaudenz is licensed under a Creative Commons Attribution-Noncommercial-Share Alike 3.0 Unported License. | |